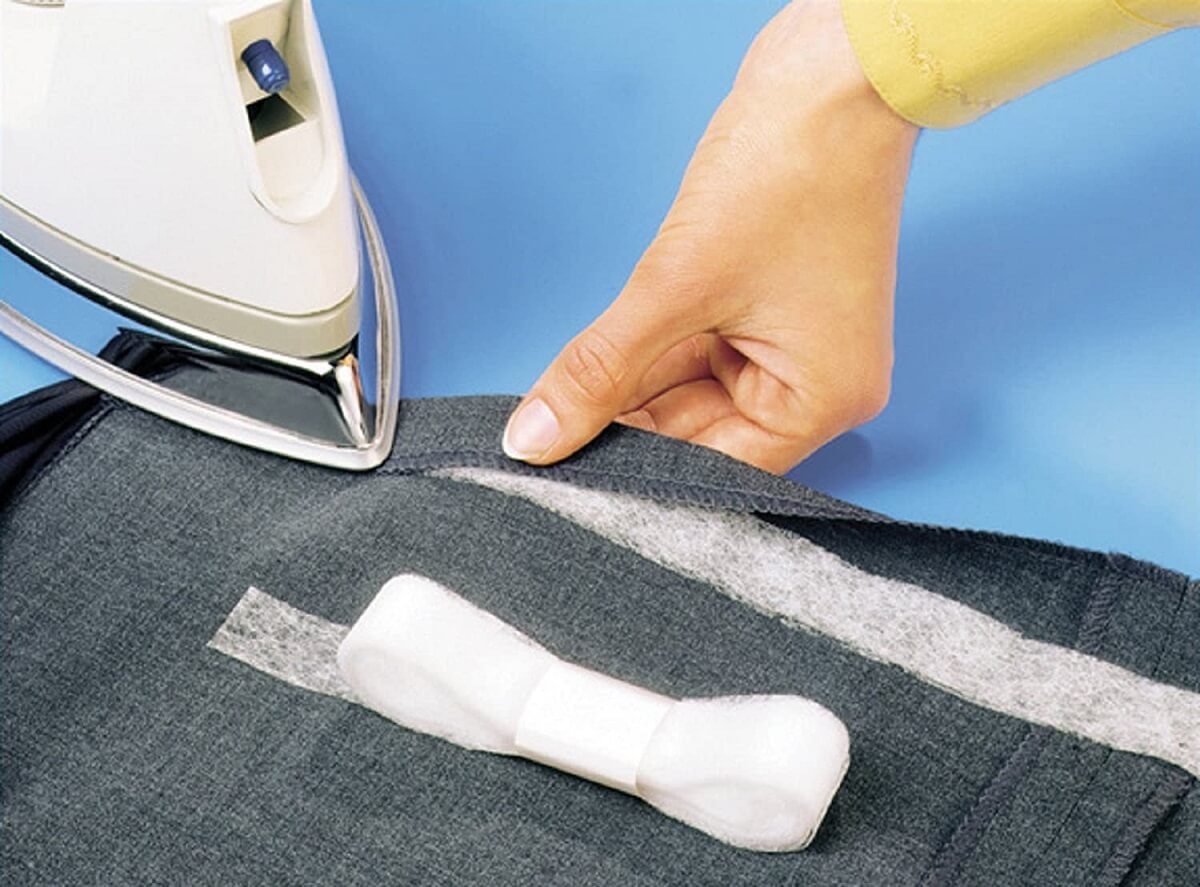
Hemming tape is an effective option for quick hems and repairs, but it can be difficult for new sewers. I’ve compiled a list of the hem tape use and how to use hem tape. It’s ideal for when you’re in a hurry or need to fix a hem quickly. First, measure the hemline, put the tape between the clothing and the hem, and press. Next, the hem is fixed to use the iron’s heat and the tape’s bonding.
Guideline To Use Hemming Tape:
Hemming tape of good quality is durable and made to be washed. Hemming tape can be found at any fabric store or clothing store. Also, check whether your local supermarket or department shop has a sewing section. Applying hemming tape is easy if you follow these steps.
#1 – Prewash:
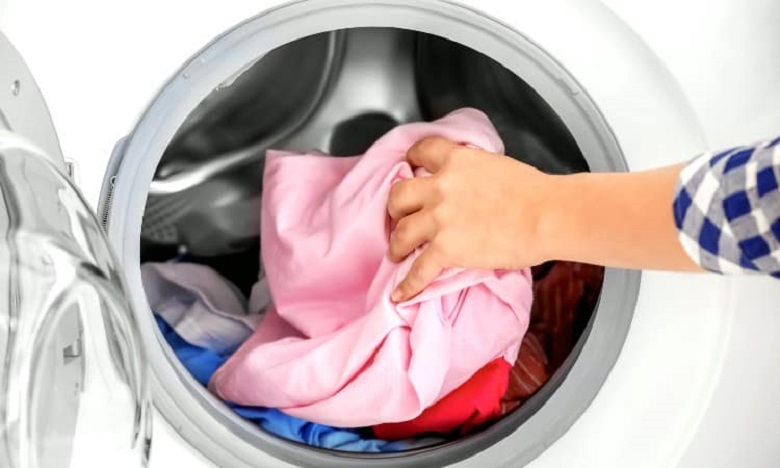
Make sure your fabric or garment has been pre-washed and is ready to be hemmed. A fabric softener should not be used on the first application as it will impair the bonding solution, causing the tape to attach less strongly.
Also Read: Your Checkout List Before Doing a Clothing Alteration
#2 – Shortening:
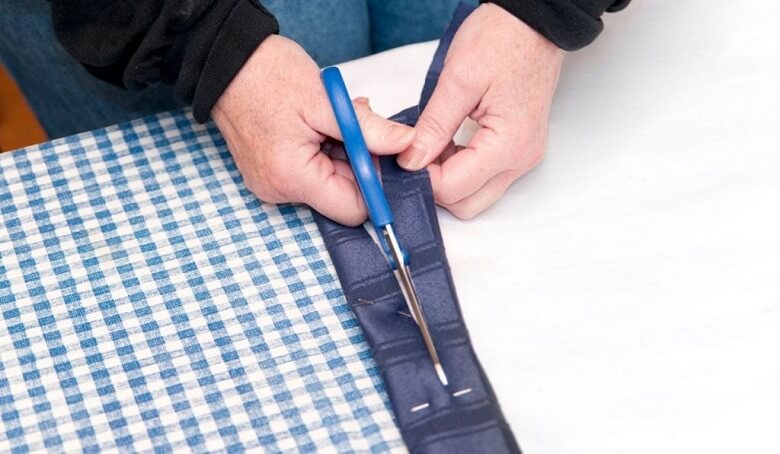
Clothing alteration service suggests shortening a pair of pants or a skirt using hemming tape, measuring the required length and adding at least 1 14 inches (3 cm) for seam allowance on the hem. Hemming tapes are usually 1 inch wide (2.5 cm). Remember to wash your jeans beforehand in case they stretch.
#3 – Finishing:
One alteration near me suggested that the edge can be left raw or finished with a zigzag stitch if you have a sewing machine. Sergers are frequently used to prevent the edge of a garment from fraying. Likewise, pinking scissors reduce fraying by cutting the edge in a zigzag pattern.
#4 – Cutting:
Cut the hemming tape to the length of the fabric for the requirement of hemmed. First, measure the part of the hem that has to be fixed and cut the tape correctly if it’s a hem repair. Then, press the hem and put the tape between the hem and the garment’s wrong side. The hem should be pressed up 1/8 inch (3mm) more than the width of the tape.
Pay attention to the pressing instructions; press and hem little sections if a short area has to be hemmed. If your outfit is delicate or made of synthetic materials, use a cotton pressing cloth between it and the fabric while ironing.
Also Read: Reasons Why Every Men Needs a Tailor
Things To Consider While Using Hem Tape (Wonder Webbing):
- Materials that are highly elastic, waterproof, have a raised fabric, or have a rough surface (or can’t be pressed) will not work with hemming tape.
- Try on a scrap piece of fabric first, especially if it’s your first time. While it’s not difficult to use, it takes a little effort to get the tape position and iron temperature.
- If you leave your hem tape exposed to the iron, it will melt and become difficult, if not impossible, to remove.
- With the iron, press down firmly. Hold for a few seconds to allow the tape to heat, then release and remove the iron.
- Let the tape cool before testing the adherence.
- If the tape doesn’t stick well, your iron wasn’t warm enough (or you didn’t leave it on long enough for the tape to heat up).
- When working with delicate fabrics, use a pressing cloth.
- Work in sections if you’re working on a wide area to keep your tape nice and straight and your hemline from being uneven or wrinkled.
- To ensure that your hem is straight and free of wrinkles, iron both sides of your fabric.
Conclusion:
Hemming tape is one-of-a-kind and very handy equipment that every sewer should have on hand. Learning how to use it takes some skill, but you’ll be glad you did once you’ve mastered it. Next, get the professional clothing alteration service from Hello Laundry. Their skilled and professionals alteration tailor have all the solutions, and the best thing is that they provide online free pick-up and delivery services.